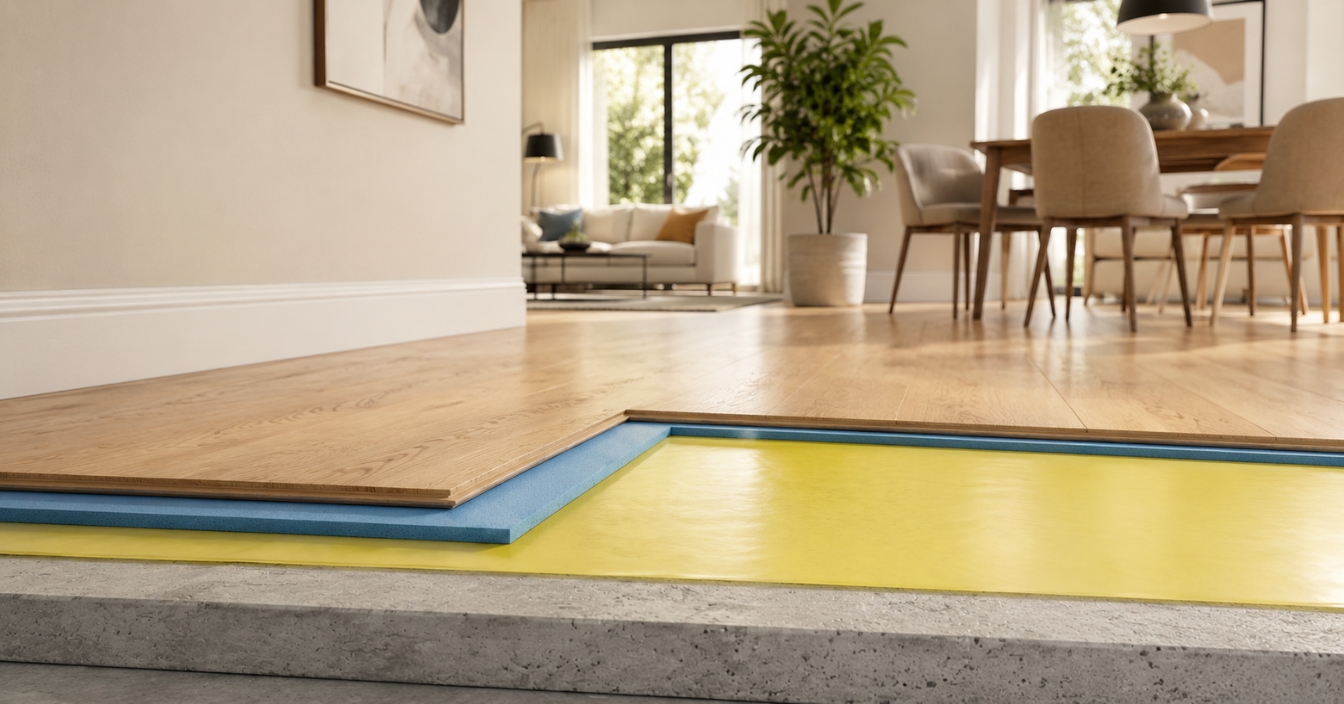
The lifespan of laminate or SPC flooring depends primarily on the subfloor. Flooring laid on an incorrectly prepared base can buckle, creak or separate prematurely. The following steps summarise the basics of professional installation.
1. Checking the subfloor
First, the condition of the existing screed must be assessed. The surface may show a maximum deviation of 2 mm measured over 2 metres. Cracks, crumbling parts of the surface and the location of expansion joints must be checked. If there are significant height differences, they must be treated with a stepped transition or self-levelling compound.
2. Moisture measurement
Laminate and SPC flooring must only be laid on a sufficiently dry subfloor. With CM measurement, a value below 2% (cement screed) or below 1.8% in the case of underfloor heating is acceptable. For fresh screed, a waiting period of at least 28 days is required before measurement.
3. Levelling and smoothing
Height differences are levelled with a thin layer of self-levelling compound. Spot repairs of deep points may also be sufficient if the rest of the surface is flat. A minimum drying time of 24 hours must be allowed after smoothing.
4. Priming
On crumbling or very dry subfloors, a penetrating primer should be used, which binds the surface and reduces the risk of moisture issues. A primer is also required before applying self-levelling compound – in accordance with the manufacturer's instructions.
5. Choosing the underlay
The three main parameters of the underlay are: sound insulation capacity (dB), thermal resistance (m²K/W – which should be low for underfloor heating) and integrated vapour protection. In multi-family residential buildings, an impact sound reduction of over 19 dB is recommended.
6. Final steps before installation
The flooring packs are acclimatised in the room for 48 hours. The installation direction is planned – usually, the longitudinal direction perpendicular to the window is the best choice. An expansion gap of 8–10 mm must be left next to all walls and fixed elements.
Without proper preparation, even the highest quality flooring will disappoint. However, adhering to the protocol guarantees that the floor will retain its shape and beauty for decades.